PSVR2 Life Hacks & Crucial Tips You NEED To Know
The PSVR2 tips and hacks I gathered in my first weeks: controller straps, hidden settings, a sharper image, comfort, tracking, cinematic mode and storage.
 By CasPublished Updated Video + article4 min read
I’ve been using the PlayStation VR2 for a couple of weeks now, and along the way I collected PSVR2 tips, shortcuts and little hacks that really improve the experience. Here they are, roughly in the order you’d need them: from the controllers and cable to a sharp image, comfort, tracking, watching films and making room for more games.
WidmoVR sponsored the part of this video about prescription lens adapters. They had no say in the rest, or in what I think of their adapters.
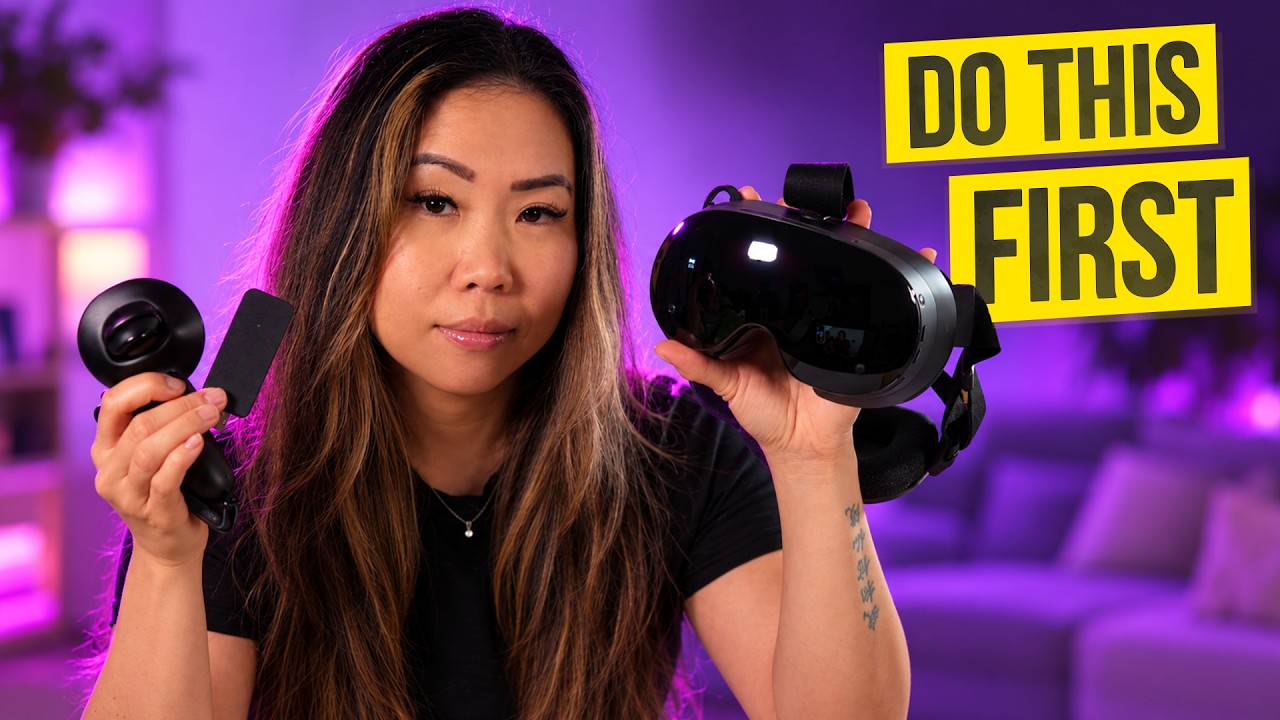
Sense controller strap tricks
The wrist straps on the Sense controllers tighten themselves: pull the strap and it tightens with one hand. When I need my hands free, I roll the controllers up onto my arms, and rolling them back into my hands is just as easy.
You can also make them work more like knuckle controllers, so you can let go without dropping them. Companies are probably making accessories for this, but it’s free with the strap you have:
- Detach the strap by twisting it upwards. Don’t twist too hard, it can break.
- Make a small loop and wrap the strap around the handle.
- Feed the connector through the loop and reconnect it by twisting the other way.
- Open up the loop, tighten it as much as you need and slide your hand in.
Depending on your hand size this may not work for everyone, but it works for my small hands and it’s now my preferred way to use them. You can still roll them up on your arms, and they stay in place better. It feels a bit like a cowboy doing a quick draw.
Remap the buttons
The setting is well hidden: Settings > Accessibility > Controllers > Custom Assignments for PS VR2 Sense controllers. Enable it, then select Customise. You can remap everything.
Protect the lenses with prescription adapters
Wearing glasses in a VR headset can damage the lenses, so I don’t recommend it. Use prescription lens adapters instead. On the PSVR2, pick adapters designed with eye tracking in mind, because the eye tracking sensors sit right on the lenses.
WidmoVR had just released PSVR2 versions of theirs. They aim to balance eye tracking and comfort, and I think they did a great job. They fit well and snap on and off easily, and parts are cut out to make them more comfortable around the nose without reducing the field of view. The quality is excellent, with lenses from a maker that’s been at it since 1877. We’ve used WidmoVR adapters on other headsets for years and never had to replace them. If you don’t wear glasses, the non-prescription (plano) version still protects the headset’s lenses.
Stop the cable from pulling your PS5
Having the cable plugged into my PS5 while I play gives me huge anxiety that I’ll pull the console over. A magnetic breakaway connector is one option, but some people think it could damage the port while others say a good-quality one is fine. I’m not sure, so my solution is an extension cable, anchored with clips so the PSVR2 wire can’t pull on the PS5. Wrap some electrical tape around the cable so it doesn’t slide through the clip too much.
Set up your play space
- Put a mat on the floor. It’s my recommended way to play VR in a room: you feel with your feet if you’re still a safe distance from walls and furniture. Cut one yourself or buy one.
- Lower the boundary sensitivity. With a mat you can set the boundary display sensitivity to low, so the virtual walls don’t pop up all the time. It’s under Settings > Accessories > PlayStation VR2 > Play Area.
Games and voice commands
Not sure which games to buy first? Start with the free demos. They’re hidden a bit, so here’s the PSVR2 demos page on the PlayStation Store. Two of my favourites are Song in the Smoke and, more recently, Horizon.
The PSVR2 supports the same voice commands as the PS5, and they work very well because the microphone sits right next to your mouth. Turn them on under Settings > Voice Command (Preview), then say “Hey PlayStation” to launch games or open specific settings pages. It isn’t very smart beyond that, but it’s fun.
PSVR2 tips for sound and passthrough
- Hear the room with Side Tone. With the earbuds in, it’s hard to hear your partner, friend or pet. Side Tone, under Sound > Audio Output, lets you hear sounds around you and your own voice through the built-in microphone. If it’s greyed out, put the headset on first.
- Passthrough shortcut. The function button under the headset opens the black and white view of your room, handy for doing something quickly. You can change it to mute the microphone instead under Settings > Accessories > PlayStation VR2 > VR Headset > Function Button Assignment, which helps if you play a lot of multiplayer. Passthrough is then still in the quick settings under View Surroundings.
- Quick settings, fast. Double-tap the PlayStation button on a controller.
- Less motion blur. If you see a lot of the high persistence motion blur I talked about in my review, lower the brightness in that quick menu.
Get a sharp image
The Adjust Visibility menu (also in the quick settings) is one of the most important settings. If the image isn’t sharp for you, this calibration isn’t right yet.
- Get your eyes in the dead centre of the circles on screen.
- Use the IPD slider to set the distance between the lenses.
- Adjust the strap until the headset sits where your eyes are in the exact middle.
- Check in passthrough: if the pop-up text looks sharp, you’re good.
Like it or not, the sweet spot is small, and these past weeks I’ve gone back to this menu every so often, even mid-game. I’m happy Sony made it easy.
Comfort hacks
Once you’ve found that sharp centre, the headset may have to sit very tight, and that can get uncomfortable. That’s the case for me. A few fixes:
- Counterweights if it feels front-heavy. Some crafty people make Velcro holders for power banks on the back.
- A top strap, attached with Velcro. Studioform’s Quest 1 straps work on the PSVR2. Yes, it looks ugly, but who cares if it’s comfier. Studioform also makes a PSVR2 comfort strap.
Fix tracking problems
If you lose tracking every so often, look at your room. The headset’s cameras need something to see to know where they are.
- Plain walls in one colour make it hard. Hang posters or have furniture in the room, but no mirrors.
- It works best in a normally lit room, so not too dark or too bright. Close the curtains and turn a lamp on.
- A TV with reflections and moving images can confuse it. Turn on Tracking Support (Settings > Accessories > PlayStation VR2 > Tracking Support), which uses your TV as a tracking marker.
- Keep the cameras clean.
Turn on 120Hz and HDR for cinematic mode
After an intense game, the PSVR2 also works as a TV replacement. Sony calls it cinematic mode, but the display’s two strong points, 120Hz and HDR, aren’t on by default there (in VR they are). Go to Settings > Accessories > PlayStation VR2 > Cinematic Mode > Video Output for Cinematic Mode and turn on both 120Hz output and HDR. If those are greyed out, first turn off 120Hz output under Settings > Screen and Video > Video Output.
Store it safely and add storage
Tuck the earbuds into the little holes on the headset so they don’t tangle or catch dust. Keep it out of sunlight, which can damage the lenses: a box with a closed lid is best, and the original box works.
If you run out of space for games, which happened to me, install an internal M.2 SSD in your PS5. I considered an external SSD, but I like a clean setup without cables hanging around. Sony made it easy: I followed PlayStation’s M.2 SSD guide and was done in about five minutes.
What matters most
If you do one thing, get the Adjust Visibility calibration right, because that’s what decides whether PSVR2 looks sharp. After that, the cable extension, a floor mat and the strap tricks made my sessions much more relaxed. VR is personal, though, so experiment and keep what works for you, and tell us the tips I missed.